해당 원글은 미디엄 블로그에서 작성한 내용을 해당 블로그에 기록하기 위해 가져옴. 원글은 2021.06.11일 작성.
Mappings
이번 주제는 Srping 4.3 부터 추가된 RequestMapping의 축약?형 xxMapping 어노테이션이다.
- GetMapping
- PostMapping
- PutMapping
- DeleteMapping
- PatchMapping
RestController에 최적화 된 어노테이션. Http 메서드 이름으로 바로 구분이 가능하다.
Spring 예제
- 아래는 Spring Boot로 바로 만들어본 RestContoller. Get 메서드를 하나 추가해봤다.
1
2
3
4
5
6
7
@RestController
public class RestApiController {
    @GetMapping("/")
    public String index() {
        return "index";
    }
}
http://localhost:8080/ 로 바로 접속하면 확인 가능하다 Get 메서드이니까.
해당 Controller에 Get, Post, Put, Delete, Patch 메서드 모두 추가해보자.
1
2
3
4
5
6
7
8
9
10
11
12
13
14
15
16
17
18
19
20
21
22
23
24
@GetMapping("/cash")
public String getCash(){
    return "get";
}

@PostMapping("/cash")
public String postCash(){
    return "post";
}

@PutMapping("/cash")
public String putCash(){
    return "put";
}

@DeleteMapping("/cash")
public String deleteCach(){
    return "delete";
}

@PatchMapping("/cash")
public String patchCash(){
    return "patch";
}
- 각 메서드 사용법중 Put과 Patch가 겹치는데 보통 Put은 전체 정보를 수정하는 것이라면 Patch는 지정된 정보만 수정하는 차이가 있다고 한다.
확인
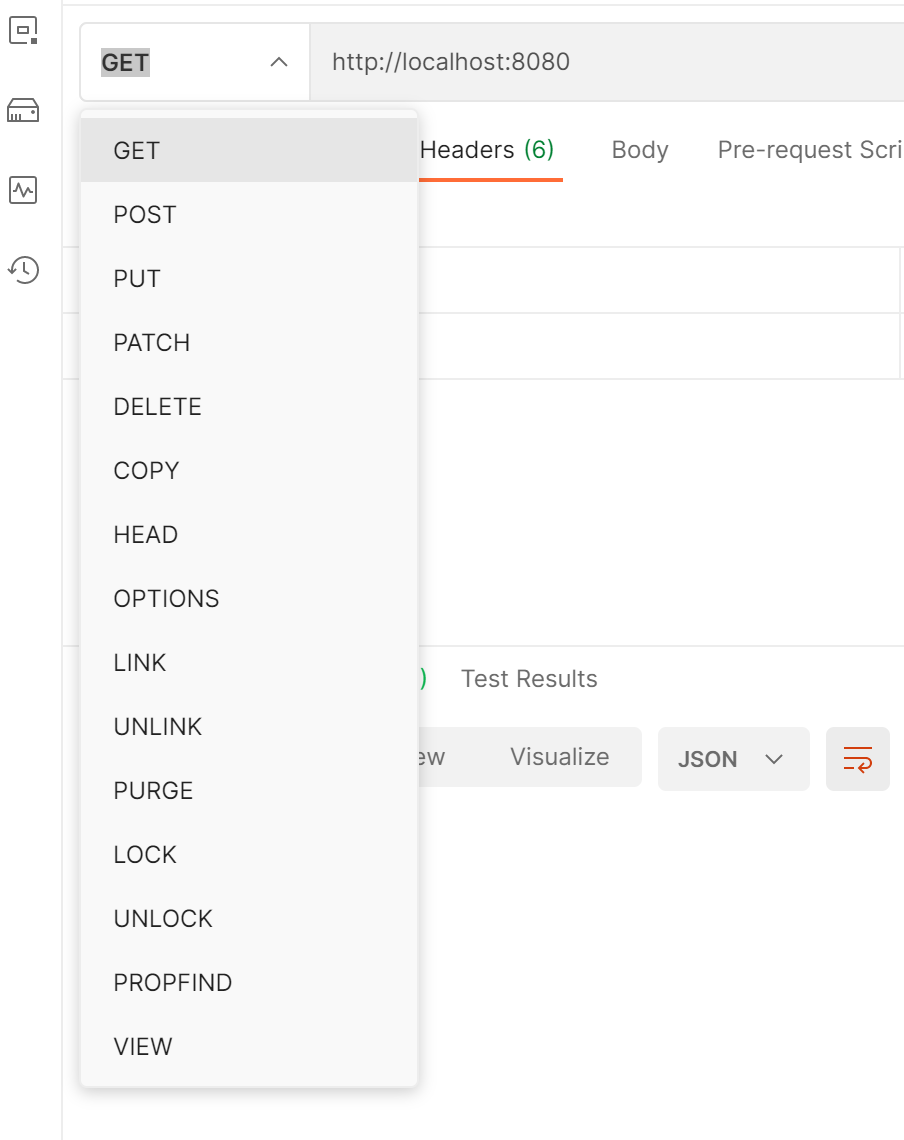
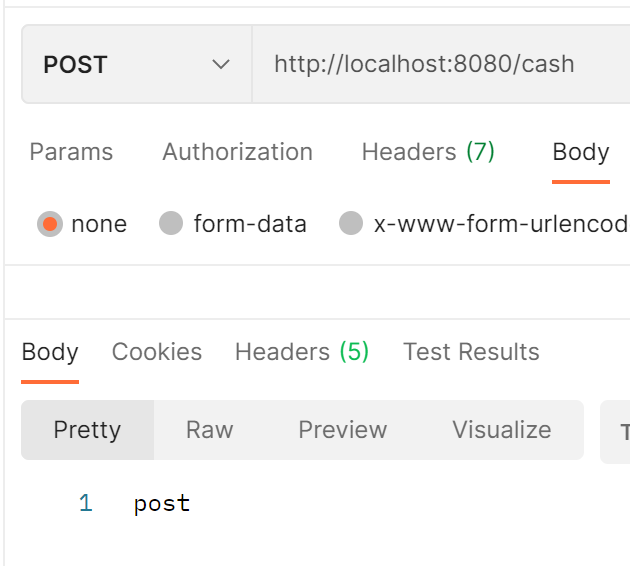
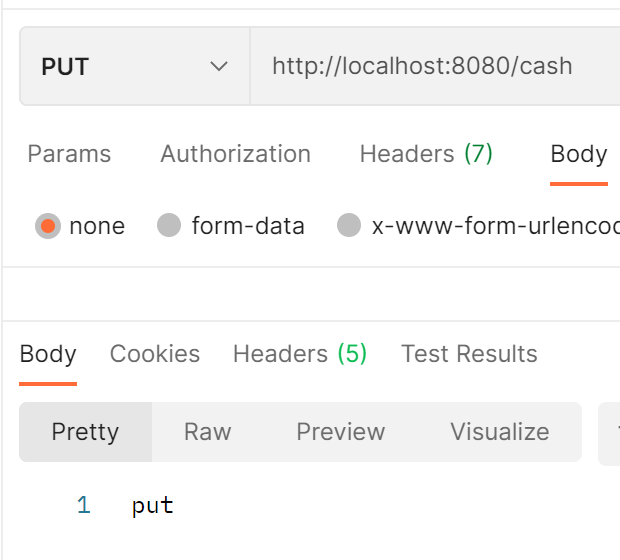
- Postman을 활용하여 각 메서드마다 수행해보자.

다양한 메서드를 제공한다

Get

Post

Put
나머지 메서드는 생략하자. 위 예시와 같이 동일한 Url이 다양한 메서드를 통해 각기 다른 작업을 수행할 수 있다. 이거슨 바로 Rest Api
그렇다면 위와 동일한 수행을 하는 RequestMapping 어노테이션을 작성해보자.
1
2
3
4
5
6
7
8
//@Controller
@RestController
public class RequestApiController {
    @RequestMapping("/index")
    public String index() {
        return "req index";
    }
}
- Controller 안되는 이유 검색해본 결과
결론 @ResponseBody가 빠짐. RestController -> Controller + ResponseBody 일반적으로 MVC이기 때문에 View Page로 이동을 시키는데 ResponseBody는 직접 Body에 값을 전달하기 때문에 View Page와 연결하지 않고 Text가 그대로 전달됨.
- 어쨋든 RequestMapping은 기본 메서드가 Get이기 때문에 /index로 접속하면 아래와 같이 잘 동작한다.

한시간 삽질의 결과
- 아래와 같이 POST로 지정을 하고 브라우저로 접속하면 There was an unexpected error (type=Method Not Allowed, status=405). 에러가 발생한다.
1
2
3
4
5
6
7
@RestController
public class RequestApiController {
    @RequestMapping(value = "/index", method = RequestMethod.POST)
    public String index() {
        return "req index";
    }
}
- 그럼 나머지 메서드도 다 추가해보자.
1
2
3
4
5
6
7
8
9
10
11
12
13
14
15
16
17
18
19
20
@RequestMapping(value = "/cash", method = RequestMethod.GET)
public String getCash() {
    return "req get";
}
@RequestMapping(value = "/cash", method = RequestMethod.POST)
public String postCash() {
    return "req post";
}
@RequestMapping(value = "/cash", method = RequestMethod.PUT)
public String putCash() {
    return "req put";
}
@RequestMapping(value = "/cash", method = RequestMethod.DELETE)
public String deleteCash() {
    return "req delete";
}
@RequestMapping(value = "/cash", method = RequestMethod.PATCH)
public String patchCash() {
    return "req patch";
}
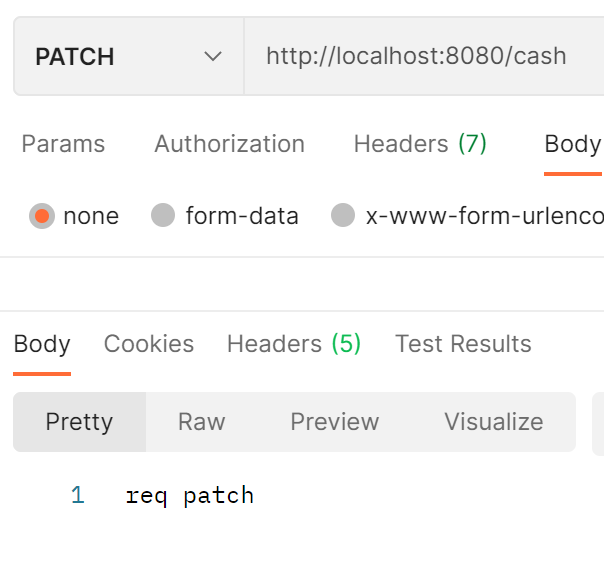
- 결과를 확인해보자

GET

Patch
- 일단 RestController로 RequestMapping과 4.3에서 새롭게 제공된 GetMapping, PostMapping 등 기본적인 사용법에 대해 알아봤다.
마무리
- 하지만 아직 갈 길이 멀다. RequesParam, RequestBody 등 Controller 요청에 값을 전달하는 방법도 알아봐야 한다.
다음은 Parameter Response 순서대로 Controller를 파헤쳐 보도록 하자.
1탄 End.
